INSTALLATION INSTRUCTIONS
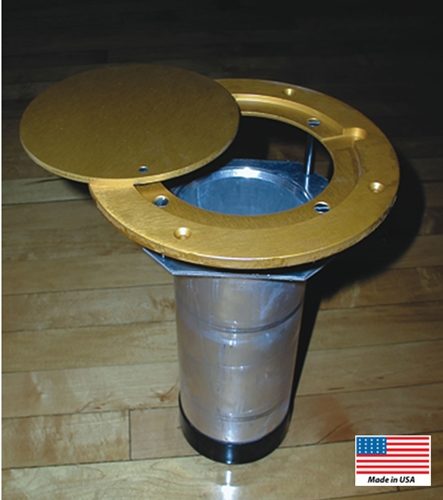
6082 FLOOR SLEEVE
FOR EXISTING WOOD FLOORS
- Layout floor sleeves across court suitable for type of court
you desire. NOTE: Minimum spacing for poles to comply with rules is
36’ 6” center to center of poles per court.
NOTE: TOP PLATE IS SEPARATE FROM SLEEVE TO
ALLOW EXPANSION AND CONTRACTION OF FLOOR. - Layout an 8” diameter off of centerlines. (Top plate may be
used as a template) Note: Hinge point of cap should be
outside of court. - Using a Hole Saw, Sabre Saw or Fly Cutter, cut a hole just
large enough to allow insertion of sleeve. Route remaining
so it is 8” in diameter and deep enough for flush fit of top. - Cut a 5” diameter hole through the concrete. This may be
done using either a 5” diameter core bit or by drilling a series
of smaller holes around the 5” diameter. Note: If the depth
from the top of the floor to the concrete is greater than 12 ½”,
less than 12 ½”, break through the concrete into the underlying
gravel. - Should it be necessary to break through the concrete, a hole
approximately 30” in diameter will have to be scraped out.
Depth of hole should be no less than 16” from the top of the
floor. - Insert floor sleeve into hole and check for top plate to be flush
in routed diameter. Using the floor sleeve as template, mark the
hole location and drill a suitable pilot hole for wood screws
provided. - Fasten the floor sleeve with the 4 wood screws provided.
- The scraped out hole and hole cut through the concrete floor
will now have to be filled with non-shrink grout. (Manufacturer’s:
Por-Rok, Embeco, Hydrocide, Masterbuilders Masterflow #713).
Refer to manufacturer’s instructions for proper mixture and curing
directions. - After grout is fully cured, remove 4-inner screws and spacers.
This will allow sleeve and top piece to float independently of each other.
IMPORTANT: It is essential to allow the grout to fully cure before
using this system. Normal curing time is between 7 and 10 days, but
always follow manufacturer’s direction completely. Failure to allow
the floor sleeve to set may result in poor system performance and may
damage the floor of your facility.
SKU:6082IIS
